Pheasant Brooder Barn Time
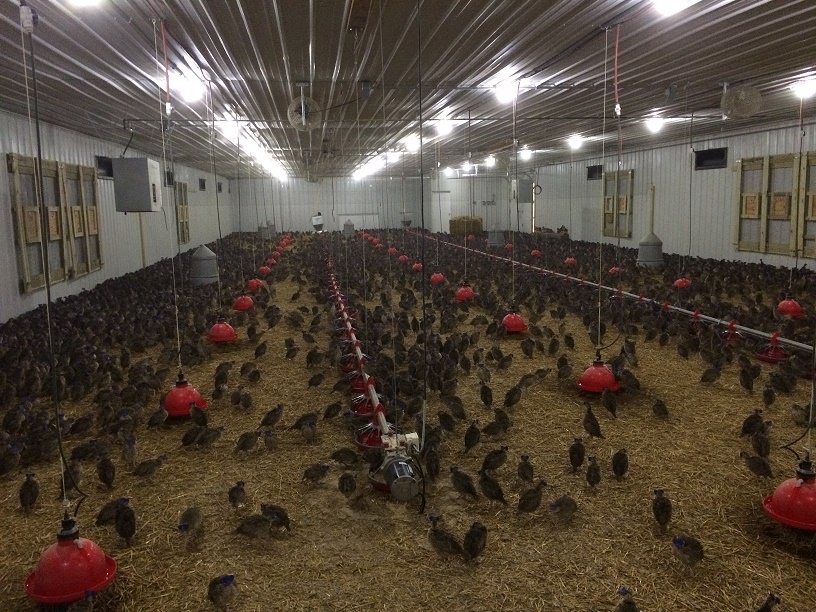
It is that time of year again. You are getting ready to start another pheasant chick season; or maybe it is your first season and you do not know where to start. I know what you are feeling. I was there just under a year ago. I started working at MacFarlane Pheasants, Inc. in January of this year and in March got my first brood of chicks. Even though I attended school and learned a lot about rearing birds it was still scary when I finally got my first batch. I had no idea where to start, but with the help of my supervisor we got our first barn set up and have started one hundred forty six thousand (146,000) pheasants this year. The first item to deal with is the type of bedding you are going to use in the brooder barn and any other buildings housing chicks. At MacFarlane Pheasants, Inc., to start the chicks, we use soybean straw as bedding in the brooder room. The chicks are on the soybean straw for the first three weeks then we move them from the brooder room to a flight room bedded with wheat straw for another three weeks. At six weeks of age, they go outside to the flight pens. We have been experimenting with wood shavings because the shavings have more absorbency, but we are continuing to use the soybean straw until we experiment further.
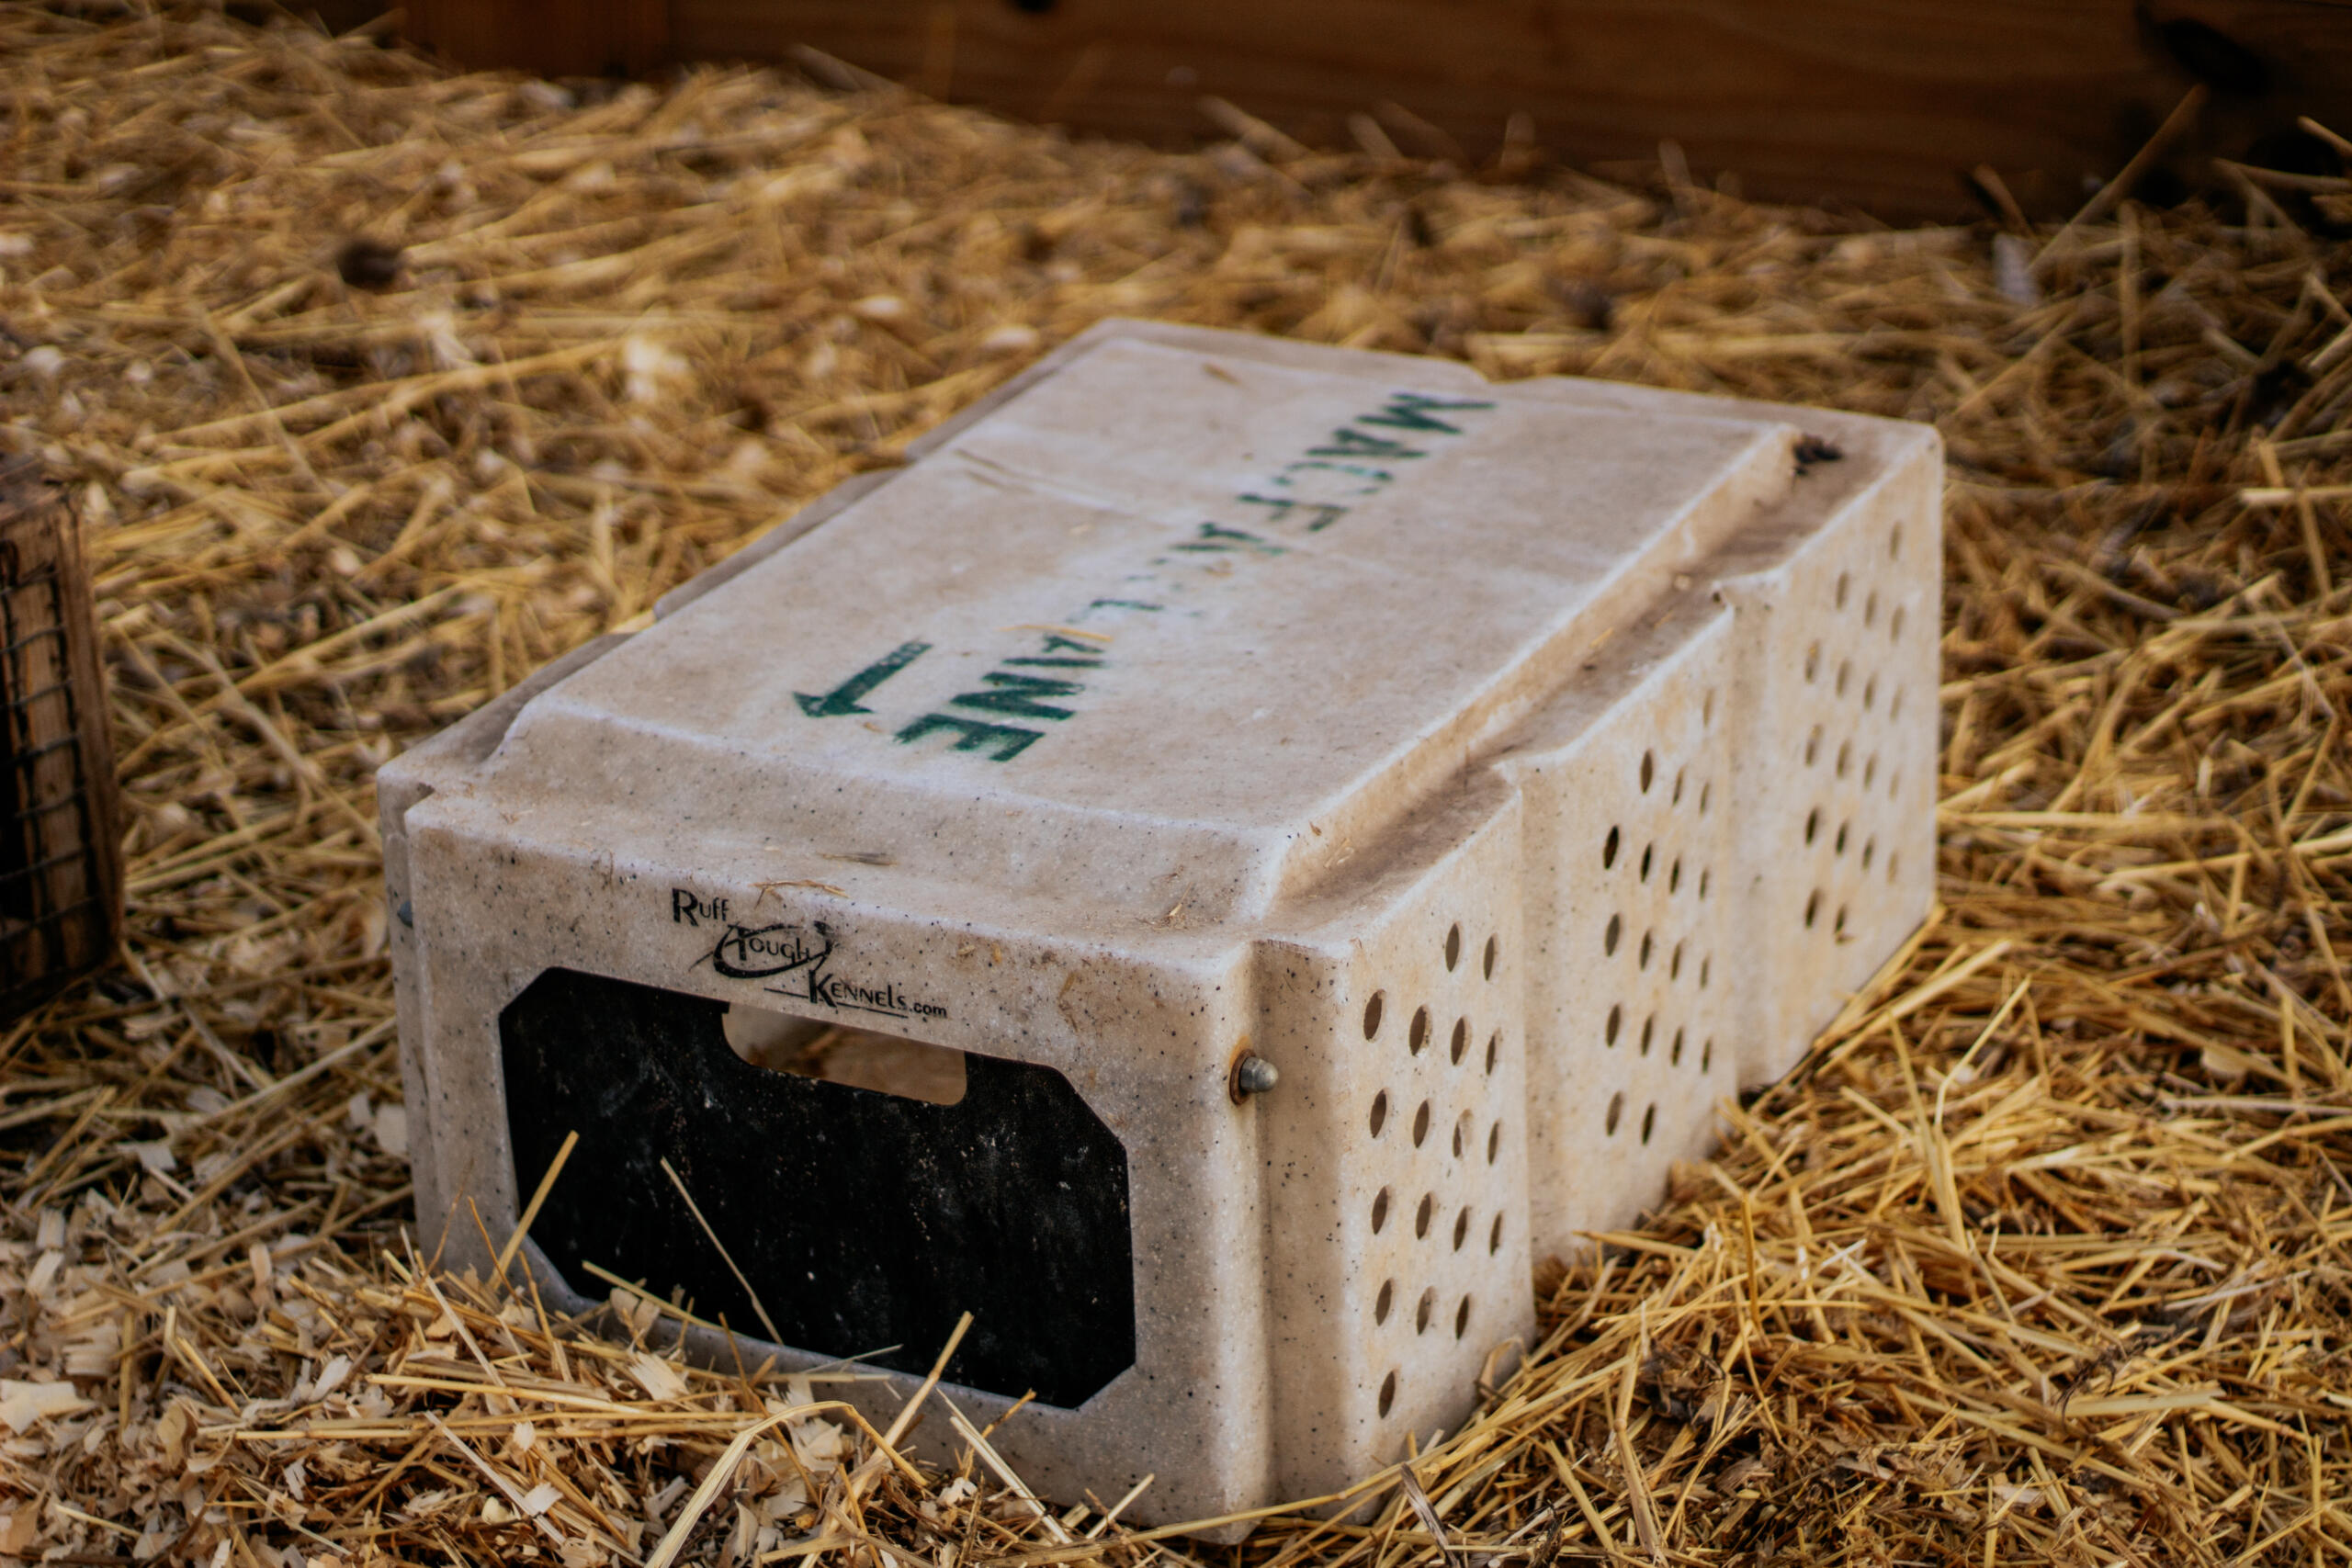
Several types of bedding are usable, however some may not be readily available in every geographical location. In the poultry industry rice hulls, sunflower seed shells, wheat straw, oat straw, soybean straw, and wood chips are some of the types used. No matter the type of bedding used, as long as it is large enough the birds cannot eat it, the main concern is to keep it dry and comfortable for the chicks. This requires careful attention by watching for leaks in the watering system and if any occur, cleaning them up immediately. In addition, top-dress the bedding if it begins to cake. Several problems could arise from improperly maintained bedding. Dry comfortable bedding is best to help the chicks maintain a healthy immune system and to insure their best performance.
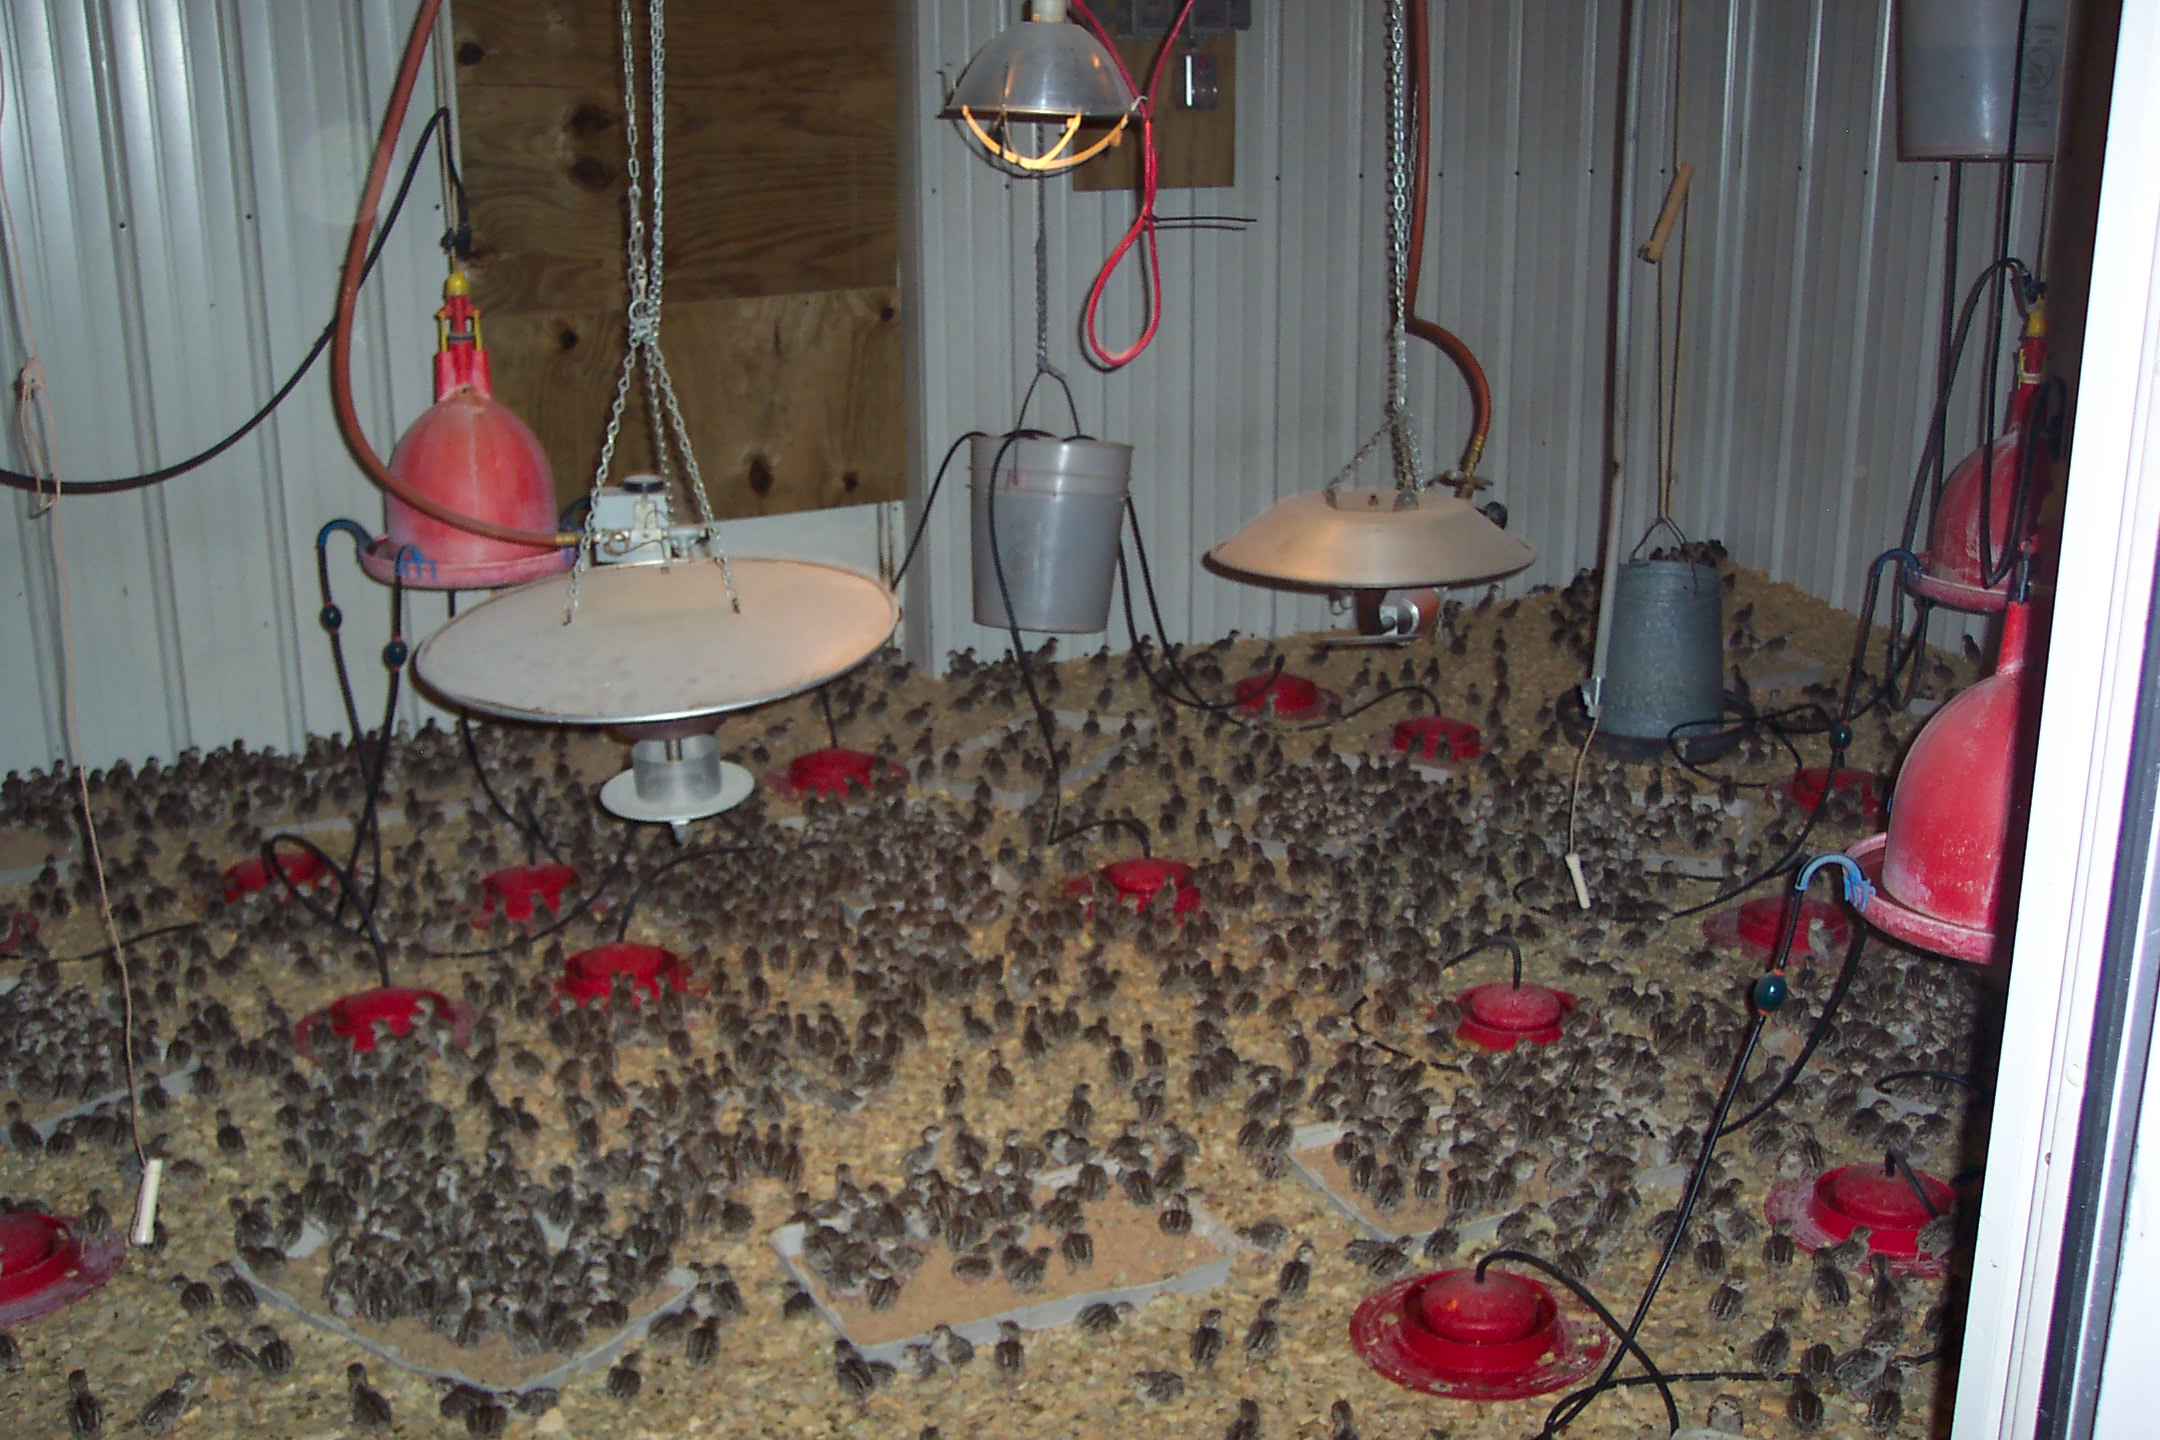
Brooding temperatures are another main factor in rearing chicks. The room temperature should be 89°F to 90°F for the birds to be comfortable. The temperature, under the brooder heaters, needs to range between 89°F, at the farthest point from the brooder, to 105°F, directly under the brooder. If the brooders run correctly the air stays at a constant temperature; the chicks stay comfortable by moving around under the brooders. When the birds are one week of age the temperature is dropped one degree every other day. The temperature decrease increases to one degree every day when they reach three weeks of age. When the chicks go outside at six weeks of age they should be acclimated to the lowest outside temperature. Depending on the time of year, the temperature may need lowered a few additional degrees each day approximately one week before they go outside. Do not over heat the chicks because as they grow older this has adverse effects. Usual thinking is that you cannot overheat the chicks because they can get away from the heat if necessary. This is not true. If kept in rings, the chicks can only go so far. Remember, not only can you cold stress your chicks, you can heat stress them as well.
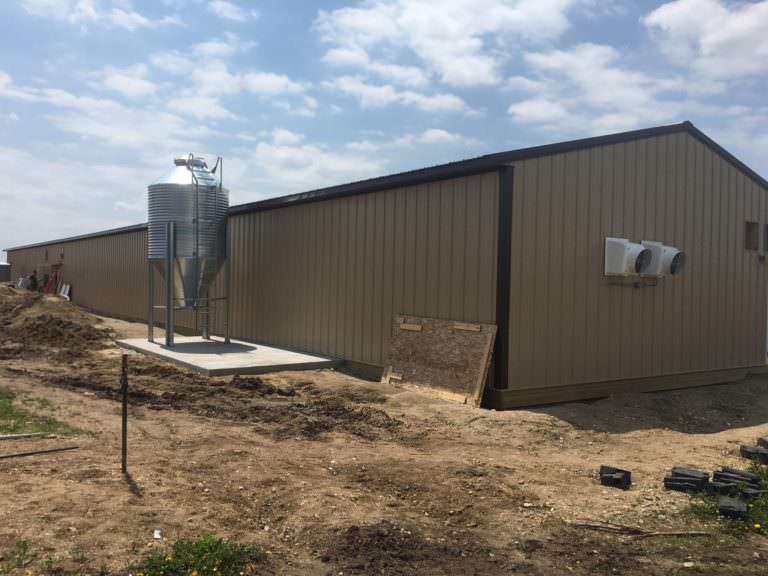
Ventilation is another key factor in keeping the birds healthy. If there is not proper ventilation in the barns then high ammonia levels can occur. This causes problems not only with the chicks, but if the level is high enough, it can cause harm to workers also. When starting the chicks you want some ventilation, but not too much, you do not want to draft the chicks. Once the chicks reach one week of age gradually increase the ventilation levels until the fans are on all the time. Proper ventilation will also aid in keeping temperatures cool inside the barns when it is hot outside. If ventilation alone cannot keep the temperature down, use additional cooling practices. The best way to determine if you have proper ventilation is to talk to a ventilation expert and have them ‘smoke’ your barns. If improperly ventilated, the ventilation experts can give you ideas on how to either work with your system, or how to change it into one that will work better for you.
Hope this helps you start on another season. Do not forget all the other important factors such as water, feed, and space. The three that I have mentioned in detail actually cause a lot of harm if not properly tended and understood. Often neglected, they cause harm in the long term. Feel free to contact me with any questions you may have
Related Posts
Preparing Our Barns & Pens Each Spring
Read Post
How We Prepare For Brooding Our Chicks
Read Post
Our Milton Farm in 2024!
Read Post

10 Ways To Get the Most Out Of Brooder Barns
Read Post
Air Flow in Barns
Read Post
Barn Maintenance at MacFarlane Pheasants’ Milton Farm
Read Post
Choosing the Best Bedding for Pheasants and Game Birds
Read Post
Birds On Top of Birds: Preventing Piling with Partridge Chicks
Read Post
Take Advantage of These Free Resources
As the biggest game bird farm in the United States, we want to share our experience with you. Download our free resources below and get started.

